Homemade Granola Bars! With Peanut Butter, Chocolate, and Banana
Those overripe bananas don’t always need to go in smoothies or banana bread! Here’s a great recipe for homemade granola bars—you know exactly what is in them unlike the packaged version, and you probably have all these ingredients already in your pantry! (If you don’t, make sure to stock up next time you go grocery shopping—these ingredients will come in handy for future recipes you find).
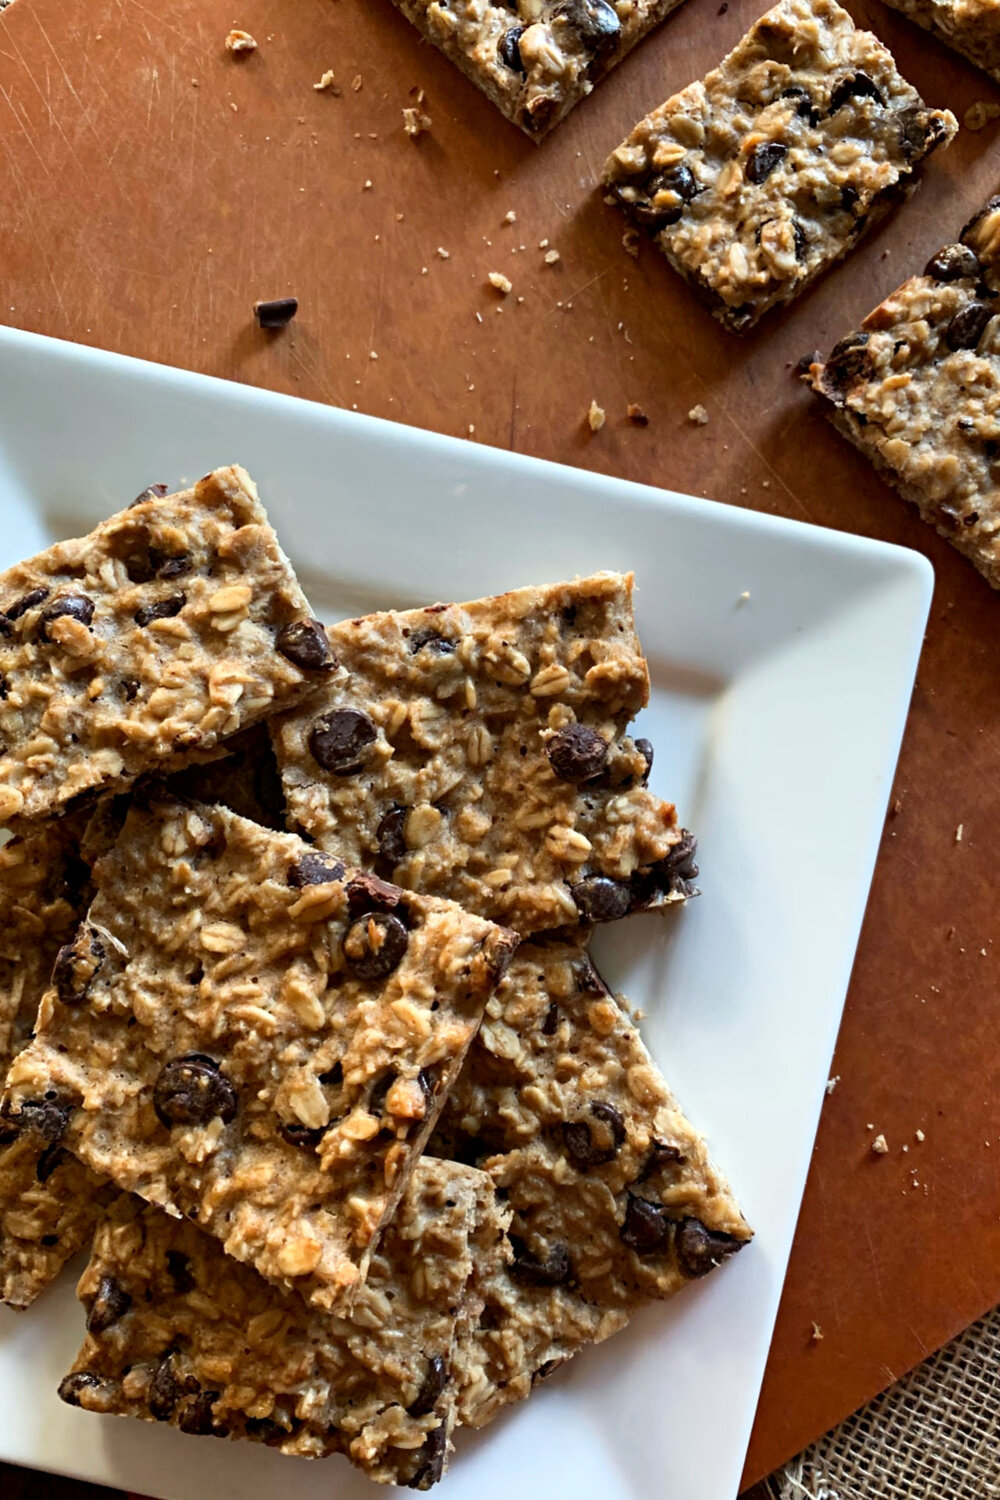
Peanut Butter Banana Granola Bars
What You Need:
2 ripe bananas
1/2 Cup peanut butter
1/4 brown sugar (or coconut sugar)
1 egg
1/2 cup milk (or any nondairy milk of your choice)
2 1/2 Cups old-fashioned oats
1 tsp baking powder
1/2 tsp salt
1 tsp ground cinnamon
1 tsp vanilla extract
1 Cup semi-sweet chocolate chips (I also added some bittersweet chips to mix it up)
Directions
Preheat the oven to 350 F. Line a 9” baking sheet with parchment paper and set aside. (The parchment will make it very easy to slide out the bars and cut. If you don’t have parchment, substitute wax paper or omit).
In the bowl of a stand mixer (or large mixing bowl if you’ll be mixing by hand), mash up the bananas.
Add the remaining ingredients, mixing continuously after each addition. Once everything is mixed well together, Spoon the mixture onto the parchment-lined baking sheet and spread evenly throughout.
Bake for 20-25 minutes in the preheated oven or until the center is set. When done, the mixture will still look soft but will be firm when pressed with your finger.
Let the bars sit in the pan for 1 hour at room temperature, then chill in the fridge for at least another hour. Once thoroughly chilled, Remove the bars from the sheet and cut into bars (or in our case, squares because that’s how my husband rolls).
To Store—These need to be kept in the fridge so they hold their shape. Eat within a week or so after making. If you don’t finish them in a week, freeze them separately to thaw and eat in the future.
Recipe Adapted from SallysBakingAddiction.com